[Tip] How to Change Network Name in Windows 10
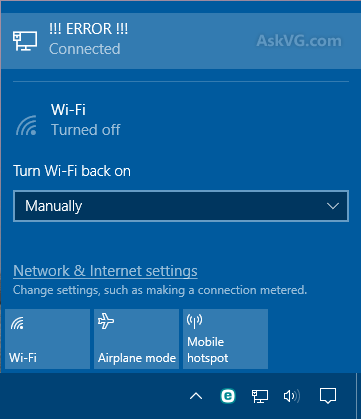
Whenever you connect to Internet in your computer, Windows 10 and previous Windows versions automatically create a profile for the network connection. You can check the network profile name by clicking on the Network icon in Taskbar system tray area:
You can also right-click on Network icon and select “Open Network and Sharing Center” option. It’ll open “Network and Sharing Center” window which also shows the connected network name:
Advertisement

Sometimes you may want to change the network name due to privacy, security or any other reason. Recently an AskVG reader contacted us regarding similar issue. He wanted to rename the network name as Windows was showing the connected network name incorrectly using some Chinese characters.
If you also want to customize the network name in Windows 10 or previous Windows versions, this tutorial will help you.
Today in this tutorial, we are going to share a small and simple registry tweak to rename network name in Windows operating system.
Check out following steps to change the network names in Windows:
1. Press “WIN+R” key combination to launch RUN dialog box then type regedit and press Enter. It’ll open Registry Editor.
2. Now go to following key:
Advertisement
HKEY_LOCAL_MACHINE\SOFTWARE\Microsoft\Windows NT\CurrentVersion\NetworkList\Profiles
3. Under “Profiles” key, you’ll see one or more sub-keys having various CLSIDs as their names. Click on each sub-key and in right-side pane, look for “ProfileName” string. That’s the string which contains network names.

4. Once you select the correct sub-key which contains the network name in “ProfileName” string, double-click on the “ProfileName” string and change its value to any desired name. Set its value to the same label which you want to show as network name in Network and Sharing Center and everywhere else.

After changing the value, close Registry Editor and check network name. Now you’ll see new name for the network as shown in following screenshot:

Also Check:
THANK YOU – most or all of the other guides on the internet always show you how to change the topmost name and NOT the one we all want to change. Yours is the only guide that helped.